
Last updated November 16, 2026
 Wrought iron
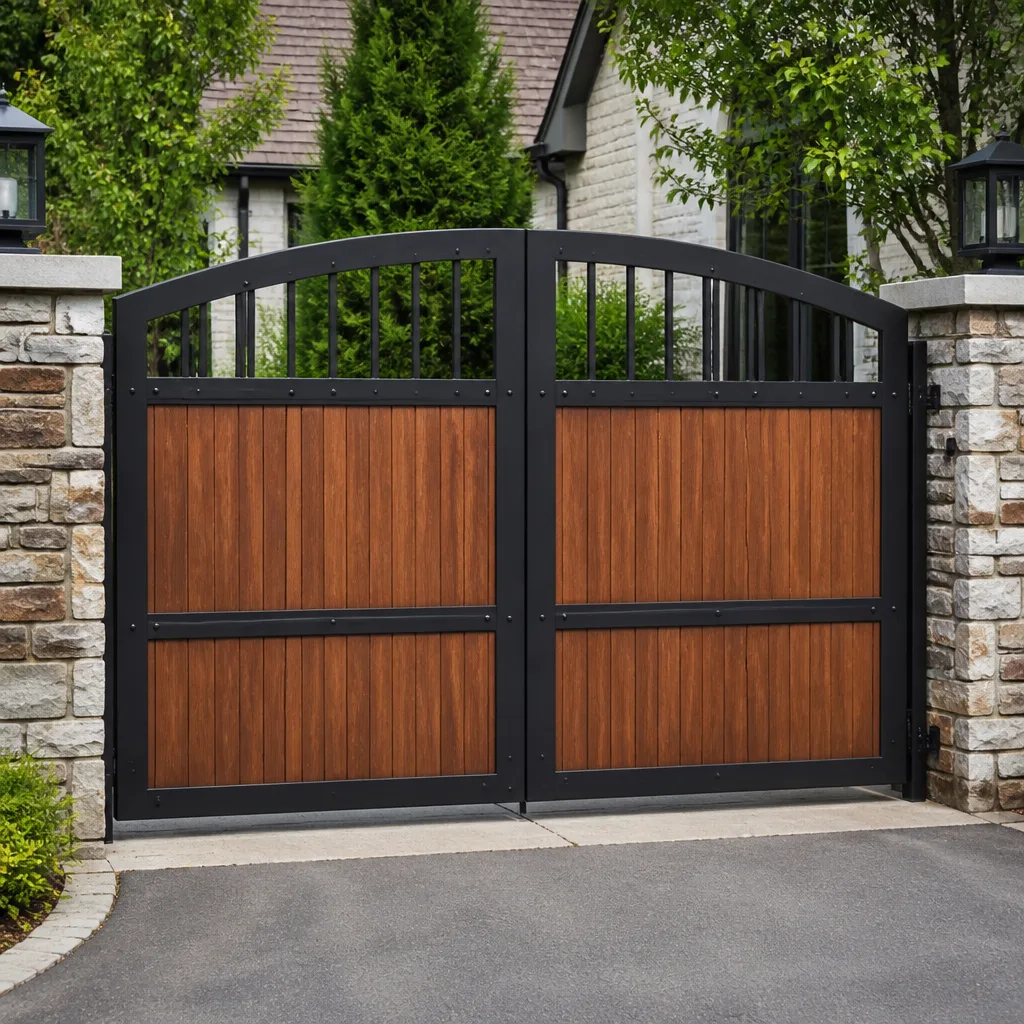 Wood & steel frame
 Farm & ranch
 Sliding driveway gates
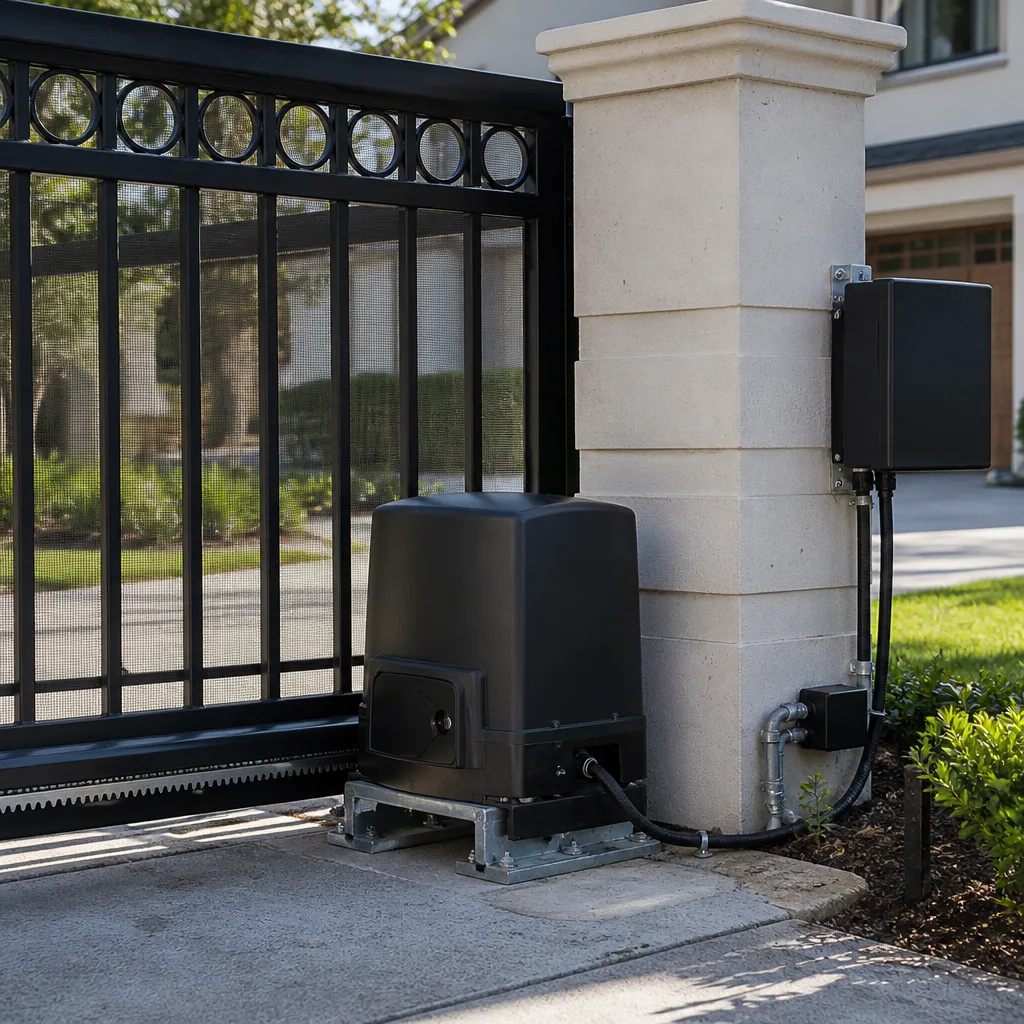 LiftMaster operators
Free on-site gate assessment - hinges, posts, and your LiftMaster or Nice gate operator checked before anything is quoted
The assessment is free and the quote is the invoice.
Get your free estimateGate Repair Maintenance Checklist for Glendale Homeowners
Lubricating the hinges and calling it maintenance is like changing your wiper blades and calling it a full car service. The parts that actually fail on a gate – control boards, safety edges, loop detectors, battery backups – rarely appear on any checklist you’ll find online. Most guides stop at the hardware you can see and touch. This one doesn’t. Below we’ve laid out a month-by-month, quarter-by-quarter, year-by-year maintenance protocol for Glendale homeowners, split by gate type, with the automation checks that prevent the expensive breakdowns. You’ll learn what to inspect yourself, what to leave alone, and when a service call is the cheaper move.
Styles & brands we work with
- Wrought iron
- Wood & steel frame
- Farm & ranch
- Sliding driveway gates
- LiftMaster operators
Quick Answer
A good gate maintenance checklist covers three tiers: monthly visual and safety-reversal checks, quarterly lubrication and sensor calibration, and annual professional inspection of the operator, wiring, and post footings. In Glendale, add seasonal attention to heat expansion on metal tracks, dust intrusion in motor housings, and concrete settlement around posts. Follow it and you catch most failures before they strand your gate open.
Table of Contents
- Why a Gate Maintenance Checklist Is Not a Cleaning Schedule
- Glendale Environmental Factors That Wear Gates Down
- The Monthly Protocol: Visual and Safety Checks
- The Quarterly Protocol: Lubrication, Sensors, and Battery
- The Annual Protocol: Operator, Wiring, and Footings
- Checklist by Gate Type: Swing, Sliding, and Overhead
- How to Document Your Gate’s Condition Over Time
- The Three Maintenance Skips That Void Operator Warranties
- Common Mistakes to Avoid
- When to Call a Professional
- Frequently Asked Questions
Why a Gate Maintenance Checklist Is Not a Cleaning Schedule
Walk down any residential street in Glendale and you can spot the gates that get “maintained” – someone sprays the hinges, wipes the keypad with a rag, and calls it done. That gate will still fail. Not because the owner was lazy, but because the checklist was incomplete.
On a manual gate, the moving parts are the hinges, the latch, and the frame. Simple enough. On an automated gate – and most residential gates in Glendale are automated, whether a LiftMaster swing setup or a Linear slide operator – the balance of failure points shifts almost entirely to the electronics. In our experience, the majority of callouts we make to homes across Glendale trace back to the automation, not the gate itself. Control boards fail from power surges. Safety edges crack and stop reading obstructions. Loop detectors drift out of calibration and leave a gate refusing to close. Battery backups quietly die and nobody notices until a power outage.
A checklist that ignores those components isn’t a maintenance plan – it’s decoration. The protocol below treats your gate as one system: the hardware, the operator, the safety devices, and the environment around it. That last part matters more in Glendale than in most places.
What the full system includes
- The gate hardware – hinges, rollers, tracks, latches, and the frame or leaf
- The operator – motor, gearbox, control board, and limit switches
- The safety devices – photo eyes, safety edges, and loop detectors
- The access control – keypad, remotes, receiver, and any intercom
- The infrastructure – power run, conduit, and post footings
Every task in this guide maps back to one of those five. If a maintenance checklist doesn’t, it’s missing something that can fail.
Glendale Environmental Factors That Wear Gates Down
Glendale has a mild climate, and that’s genuinely good news for gate hardware – no hard freezes, no road salt, no deep winter. But “mild” doesn’t mean “nothing.” The local conditions that wear on a gate are heat, dust, and the ground itself.
Heat expansion on metal tracks and frames
Metal gates and tracks expand in the summer heat. On a sliding gate, that expansion can make a track bind slightly at the far end of travel – a symptom that comes and goes with the temperature and is easy to dismiss. On a swing gate, a steel frame that has expanded against a latch can start to catch. Monitoring for this pattern is part of the seasonal checks below: if your gate operates differently on a hot afternoon than on a cool morning, that’s information worth writing down.
Dust intrusion in motor housings
Glendale’s dry stretches kick up fine dust, and fine dust is the enemy of any electric motor. It settles into gearboxes, coats control board surfaces, and works its way into the seals on operator housings. A sealed operator is protected to a point, but sealed doesn’t mean immune. Annual inspection of the operator enclosure is where this gets caught.
Concrete settlement around posts
Ground movement is slow and easy to miss. When a gate post settles even a small amount, the geometry of the whole gate changes – a swing gate sags, a slide gate misaligns with its track, and the operator has to work harder to force the gate through its travel. Harder work means heat, and heat kills motors. Checking post plumb is part of the annual protocol and one of the most overlooked items on any checklist.
What you won’t need to worry about here
You’ll find a lot of national checklists that go on about freeze-thaw cycles, snow load, and salt air. None of that applies to Glendale. Skip those sections when you read them elsewhere and put that attention into dust and heat instead.
The Monthly Protocol: Visual and Safety Checks
Monthly tasks take about fifteen minutes and require no tools. The point is to catch changes before they become failures – and to test the safety devices that protect people and vehicles, which is the item most homeowners skip entirely.
1. Do a full walk-through visual inspection
Open the gate fully, then walk the perimeter. Look at the hinges, rollers, and track for wear patterns, rust spots, or anything that has worked loose. Check the gate leaf or panel for wobble. At the operator, look for anything unusual on the housing – cracks, moisture, insect nests.
2. Run the safety reversal test
This is the most important monthly task and the one almost nobody does. With the gate moving, place an obstruction in its path – a piece of cardboard, a length of foam, a garden stake – and confirm the gate stops and reverses. If it doesn’t, stop using the automatic function and get it serviced. Do not test the reversal with a person or a pet in the path, and don’t test with your own body.
3. Test the photo eyes and safety edges
Photo eyes are the paired sensors near the gate opening. Confirm they’re clean and aligned – a smudge or a knocked sensor can make the gate behave as if there’s an obstruction when there isn’t. Safety edges should return immediately when pressed lightly. A cracked edge or a nicked wire is a service item, not a DIY fix.
4. Check remotes and keypad response
Remote response that’s getting sluggish or intermittent is an early signal – often a battery, sometimes a receiver or interference issue. Note it and move on; the annual visit will sort the cause.
5. Listen while the gate moves
Sound is a maintenance signal. A smooth whine is healthy. Grinding, squealing, rattling, or a labored motor note means something is wearing. Write down what you heard and when, and pass it to the technician.
The Quarterly Protocol: Lubrication, Sensors, and Battery
Quarterly tasks go deeper into the moving parts and the automation. Set a reminder on your phone – a seasonal reminder is the difference between a maintenance plan that runs and one that exists only on paper.
1. Lubricate the correct points (and only those)
Hinges, rollers, latches, and any pivot points get a light application of a quality gate lubricant. Do not grease the track itself – a slide track should be clean and dry, and greasing it collects dust. Do not spray lubricant into the operator housing, the control board area, or the motor. That last point is a warranty issue; more on that below.
2. Clean the photo eyes and safety edges
Wipe the lenses with a soft cloth and a light cleaner. Wipe down the safety edges and inspect for cracks in the rubber. A safety edge that’s been baked by the sun for a couple of years starts to fail mechanically, and a new edge is far cheaper than a damaged gate.
3. Test the battery backup
Most operators have a backup battery designed to cycle the gate open (or closed) a limited number of times during a power outage. To test it properly, interrupt the main power – safety check first, and only with the gate’s path clear – and confirm the operator responds. Then restore power and confirm normal operation. If the gate fails to cycle on battery, replace the battery. These fail quietly and are consistently the item homeowners forget.
4. Check the loop detector
On gates with a vehicle loop – common on driveway gates installed with FAAC or BFT operators, among others – drive a vehicle over the loop and confirm the gate holds open and closes normally afterward. Loops drift out of tune, and the symptom is usually a gate that refuses to close or snaps shut too quickly.
5. Inspect the track and clean it
On slide gates, sweep the track and check for debris, small stones, or dust buildup. Look along the track’s length for visible misalignment, especially at the far end where heat expansion can bind it.
6. Check the access control system
Test the keypad, intercom, and any card readers. Confirm every code still works and no buttons stick. A keypad that’s started to fail is a nuisance for a homeowner and a security problem for a property manager.
The Annual Protocol: Operator, Wiring, and Footings
Annual maintenance is where a trained technician earns their visit. Some of it you can do yourself; most of it you shouldn’t. The electrical components in particular carry real risk, and the safety devices are only meaningful if they’ve been tested properly.
1. Inspect the operator housing and control board
With the power off, a technician opens the operator and inspects for dust intrusion, moisture, insect activity, and any signs of component wear on the control board. This is where the automation failures that read as “the gate just stopped” actually get caught.
2. Test and calibrate the safety devices
Photo eyes get aligned and confirmed against the operator’s logic. Safety edges get electrically tested, not just pressed. Loop detectors get calibrated. A safety device that passes a light press but fails electrically is worse than one that’s obviously broken, because it looks fine.
3. Test the manual release
Every automated gate should be able to be manually released in a power failure. Confirm the release works and that the gate moves freely by hand when released. If the manual release is stuck or the gate is hard to move by hand, the gate has a mechanical problem that the operator has been masking.
4. Check the post footings and plumb
This is the item competitors miss. A technician should check the gate post for plumb and any visible movement at the footing. A post that’s started to settle is a slow, predictable failure – and catching it early means re-securing the post rather than replacing the operator that burned out trying to compensate.
5. Inspect the power run and conduit
Check the conduit run for damage, water intrusion, or loose connections. This matters more than it sounds – a degraded power feed is the cause behind a surprising number of “it works sometimes” electrical faults.
6. Full operator service and adjustment
Gearbox inspection, limit switch re-setting, force adjustment, and lubrication of the appropriate internal components. This is skilled work, and it’s where the brand-specific knowledge matters most. An FAAC operator, a BFT operator, a Linear operator, and a Viking operator all have different service requirements.
Checklist by Gate Type: Swing, Sliding, and Overhead
Swing, sliding, and overhead gates fail in different ways, so their checklists differ. The monthly, quarterly, and annual rhythm above applies to all three; within that structure, here’s what to target.
Swing gate checklist
- Monthly: Check hinge wear and gate sag, run the reversal test, confirm both leaves close flush, inspect the latch
- Quarterly: Lubricate hinges and pivots, inspect the operator arm or hydraulic ram for leaks, test the battery backup
- Annual: Check post plumb, service the operator, align the arm geometry, confirm the manual release
Swing gates are the most common residential type in Glendale, and their weak point is almost always the post. A settled post changes the arm geometry and forces the operator to fight the gate. Watch for a gate that used to swing freely by hand and no longer does.
Sliding gate checklist
- Monthly: Clear debris from the track, check the rollers for wear, run the reversal test, listen for grinding
- Quarterly: Clean (don’t grease) the track, inspect the guide rollers, test the loop detector, check for heat-expansion binding
- Annual: Inspect the track for misalignment, check the rack and pinion (on rack-driven operators), confirm the post footing, service the operator
Slide gates carry the added risk of derailment. A gate that comes off its track is a heavy metal panel moving when it shouldn’t – this is a stop-and-call situation, not a wiggle-it-back-by-hand one.
Overhead gate checklist
- Monthly: Inspect the counterbalance and spring points (visual only), run the reversal test, confirm the gate travels fully in both directions
- Quarterly: Lubricate the moving joints, inspect the overhead track, confirm the safety edge
- Annual: Service the counterbalance system through a professional (overhead gate counterbalance systems are powerful and dangerous), inspect the operator, check the post or mounting structure
Overhead gates carry high-stored-energy counterbalance systems. Do not adjust, disassemble, or attempt to repair a counterbalance spring yourself. That’s the one item on this entire guide we’d firmly insist on professional involvement for.
How to Document Your Gate’s Condition Over Time
Here’s the part nobody writes about: a maintenance log is worth as much as the maintenance itself. A gate is a mechanical system with slow, predictable failure modes, and the only way to catch a trend is to have a baseline. Without records, every problem is a surprise. With records, most problems are predictable.
What to record, and how
- Date and task. Log every check – even the ones that find nothing. “Monthly safety test passed” is still information.
- Observations, in plain language. “Gate noisy at the far end of travel when hot” beats “gate weird.” Include the time of day and the weather, since both matter in Glendale.
- Photo of the wear points. A monthly photo of the hinges, track, and post footing gives you a visual history. Changes that are too slow to notice become obvious side by side.
- Battery replacement dates. Backup batteries have a service life and fail silently. The date you last replaced them is the single most useful entry in the log.
- Every service visit. What was repaired, what parts were replaced, which brand and model of operator is in use. This is the log a technician will ask for.
Why the log pays off
When a technician arrives with a log, they’re not starting from zero – they’re diagnosing a documented history. Slow-motion failures (a settling post, a weakening motor, a control board degrading under dust) often only make sense in a timeline. In our experience, a homeowner who can show a service technician a year of notes routinely saves money on diagnosis, because the failure pattern is already on paper. And when it’s time to decide between repair and replacement, the log is what tells you which one makes sense.
The Three Maintenance Skips That Void Operator Warranties
Gate operator warranties are conditional. Manufacturers set maintenance expectations, and skipping them gives the manufacturer an out. If you’re running a LiftMaster, FAAC, BFT, Linear, Viking, Ghost Controls, DoorKing, Elite, or Mighty Mule operator, the warranty terms are on the manual – and in practice, three skips are the ones we see most often.
1. Skipping the safety-device testing
Safety devices are the first thing a warranty claim looks at. Operators are designed to work with photo eyes, safety edges, or loop detectors, and manufacturers require that those devices be tested and functioning. An operator that has been run with a failed or disabled safety device is, in a manufacturer’s view, being operated outside its design parameters. That can void the claim.
2. Ignoring the operator’s service interval
Every manufacturer sets a service interval, usually stated in the manual as “inspect the operator every X months.” Skipping those inspections is the second most common reason a warranty claim is denied. Keep the log – a documented service history is what gets a claim honored.
3. DIY work inside the operator housing
Opening the operator housing to “have a look” and ending up with dust inside the enclosure, or replacing a control board with an aftermarket part, is a warranty killer. So is pressure-washing near the operator. The housing is sealed for a reason. If the operator is under warranty, anything inside it is the manufacturer’s territory.
What to do instead
Book the annual professional inspection and keep the records. It’s the least expensive way to keep the warranty intact and the operator healthy – and when a technician is inside the housing annually, small issues get caught before they become warranty claims in the first place.
Common Mistakes to Avoid
- Greasing the slide track. A slide track should be clean and dry. Lubricant on the track traps Glendale dust and turns into a grinding paste that eats the rollers. Clean it, don’t grease it.
- Skipping the reversal test because it’s awkward. The safety reversal test is the single most important check on this entire list, and it’s the one most homeowners skip. Test it monthly with an inanimate object – not your hand, foot, or a child.
- Treating photo-eye symptoms as operator failure. A gate that won’t close often has a dirty or misaligned photo eye, not a dead control board. Clean and align first; if the symptom persists, book a diagnosis.
- Ignoring post movement because the gate “still works.” A settled post is the slowest, most expensive failure on the list. It looks like nothing until the operator starts overheating – and by then it’s forced the operator to work too hard for too long.
- Power-washing the operator housing. It’s tempting in the dry heat, and it’s wrong every time. Moisture intrusion into the control board is expensive, and can void the warranty.
- Letting the backup battery go untested. Most backup batteries have a finite service life and fail silently. Test them quarterly, replace them when they fail. When the power goes out in Glendale, your gate is only as reliable as the battery.
- Forgetting the log. A gate problem with no history is a diagnosis from scratch. A gate problem with a year of notes is a repair plan.
When to Call a Professional
Not every item on this checklist should be a DIY job – and we’d rather tell you that plainly than pretend otherwise. Call us if: the safety reversal test fails and the gate doesn’t stop on obstruction; the photo eyes or safety edges won’t test cleanly; the gate won’t respond to the operator at all; the manual release won’t operate; the gate has come off its track (a slide gate off its track is a stop-and-call situation); the operator housing is showing moisture, cracks, or burn marks; a swing gate has developed real sag or a post has started to move; or your gate involves an overhead counterbalance system, which carries dangerous stored energy and should only be serviced by a trained professional. When in doubt, a quick call is cheaper than a failed component. Glendale Gate Repair offers free estimates in Glendale – call (888) 853-9043.
Frequently Asked Questions
Once a year for a full professional inspection, plus monthly safety checks and quarterly lubrication and battery testing as a homeowner. The conditions in Glendale – heat, dust, and ground movement – make a yearly inspection the right baseline. If the gate is heavily used or automated with a commercial-grade operator like FAAC or BFT, a technician may recommend a closer interval. Call (888) 853-9043 for an exact quote – estimates are free.
We quote by the job after we’ve looked at the gate, so there’s no single number to publish. Small adjustments and lubrication sit at the low end; service that involves opening the operator, testing electrical components, and adjusting the safety devices is priced higher. The estimate is free and the written price is agreed before any work starts. Call (888) 853-9043 for an exact quote.
You can and should do the monthly visual checks, the safety reversal test, and the quarterly cleaning. Leave anything inside the operator housing, any work on the power run, and any counterbalance adjustment on an overhead gate to a professional. The electrical components, the safety devices, and the post footings are service items, not DIY items.
In most cases it’s a sensor issue – a dirty or misaligned photo eye, or a safety edge that’s failed. Control board failure is less common but more expensive. Clean and align the sensors first; if the gate still won’t close, get it diagnosed. We work on the brand you already have, including LiftMaster, FAAC, BFT, Linear, Viking, Ghost Controls, DoorKing, Elite, and Mighty Mule. Call (888) 853-9043 – estimates are free.
Gate repair covers the hardware – hinges, rollers, tracks, latches, and posts. Electric gate repair covers the automation: the motor, operator, control board, safety devices, remotes, and access control. Most gates need both, because a hardware problem and an electrical problem are usually feeding each other. Visit our electric gate repair page for the automation side.
Yes – not because maintenance is magic, but because most gate failures start as small, cheap problems and get expensive when ignored. A settled post is a re-secure; left alone, it burns out the operator. A failing battery is a replacement; left alone, it strands the gate in an outage. The full checklist in this guide is the difference between those two outcomes.
The Bottom Line
An effective gate maintenance checklist covers the whole system – hardware, operator, safety devices, access control, and infrastructure – and it runs on a rhythm, not on memory. Do the safety reversal test every month, lubricate and test the battery every quarter, and book a professional inspection once a year. In Glendale, pay particular attention to heat expansion on the track, dust inside the motor housing, and any sign that the post has started to move. Keep a log. Skip the three warranty-killers. If anything on the list needs a trained eye, we’re a gate-only shop – gate repair and automation, nothing else – and we’ll tell you honestly whether repair or replacement makes more sense.
We’ve built this guide from the full system, not just the parts you can see, and we’d rather a homeowner catches a problem in a monthly check than a technician catches it on a service call after the damage is done. Glendale Gate Repair works on the brand you already have – we handle the automation and the hardware together, from first diagnosis to done. If you’re in Glendale and something on your checklist came back wrong, call (888) 853-9043 for a free estimate. We answer 24/7. Fast dispatch from 7am to 7pm, Sunday through Friday. You can also start with our main Glendale Gate Repair page.
Written by the team at Glendale Gate Repair.
See the difference
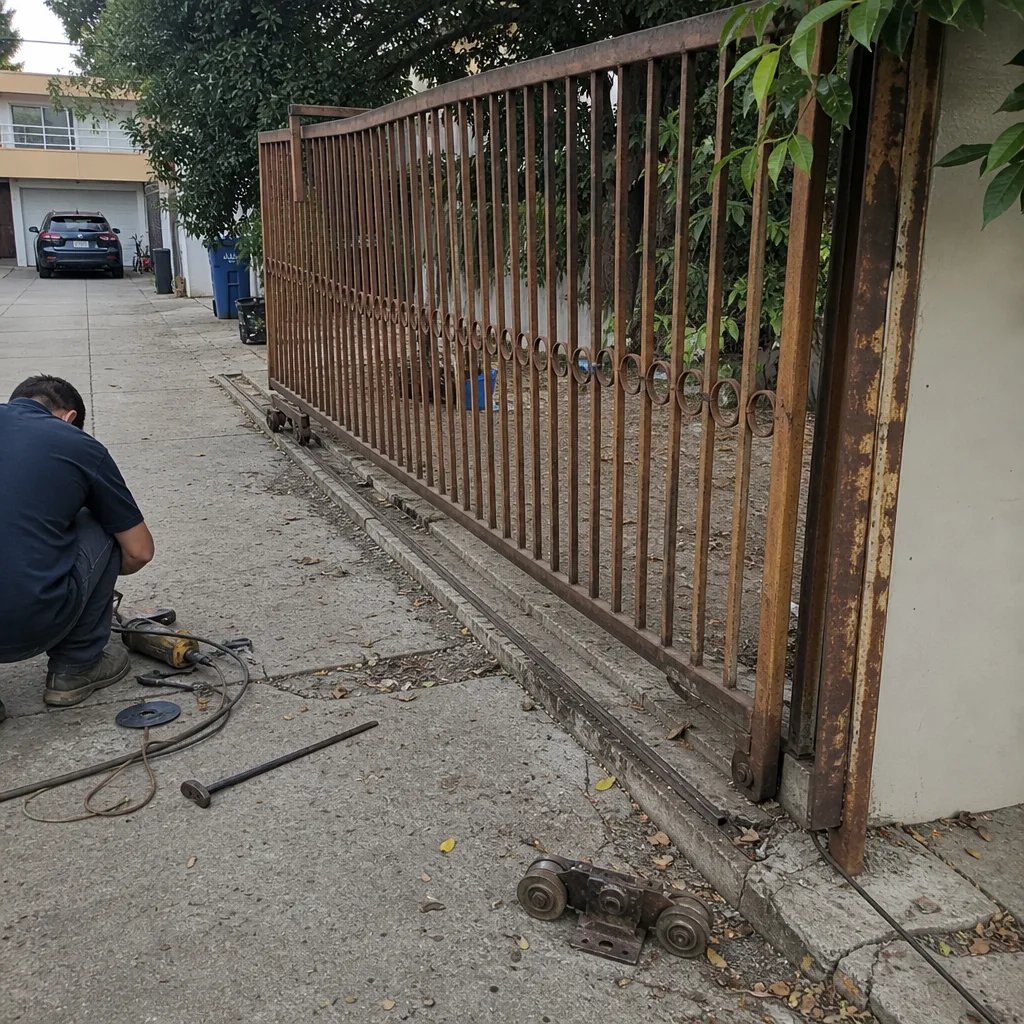 Before
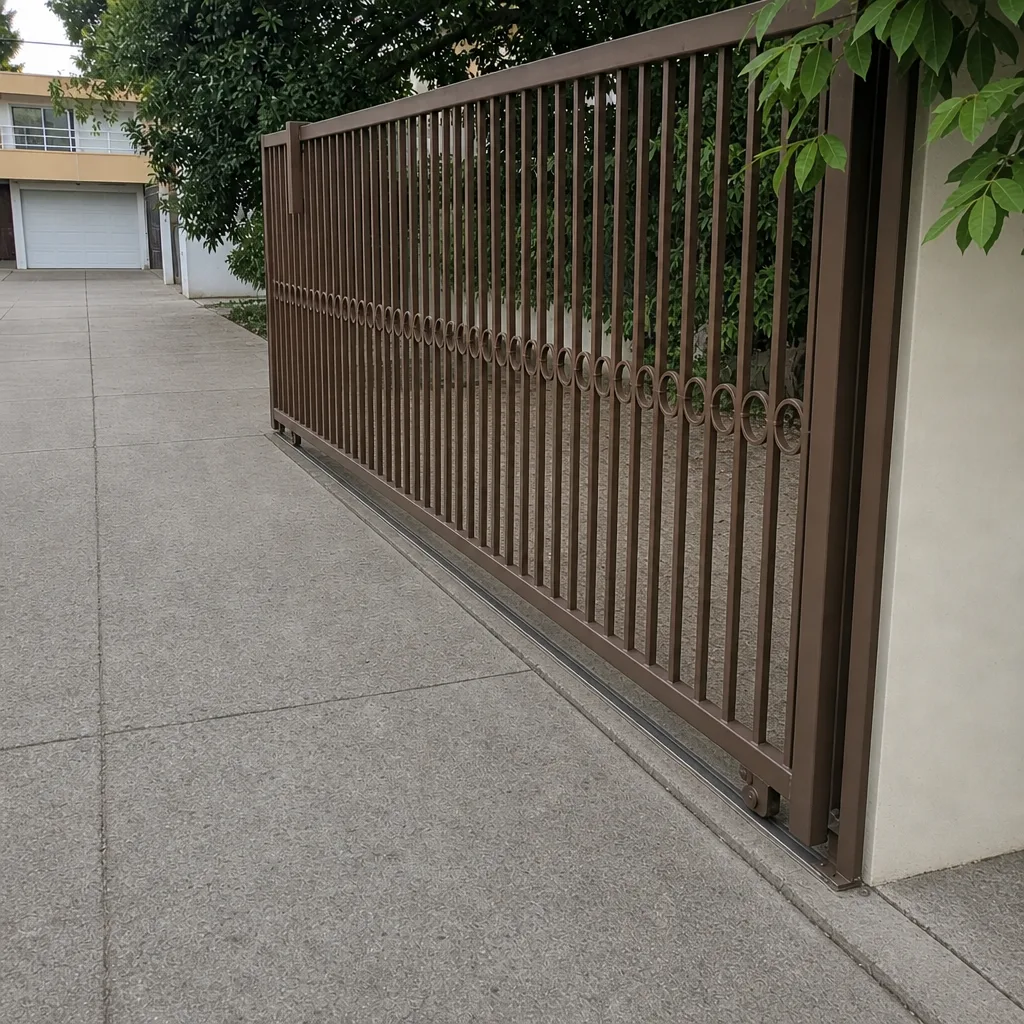 After
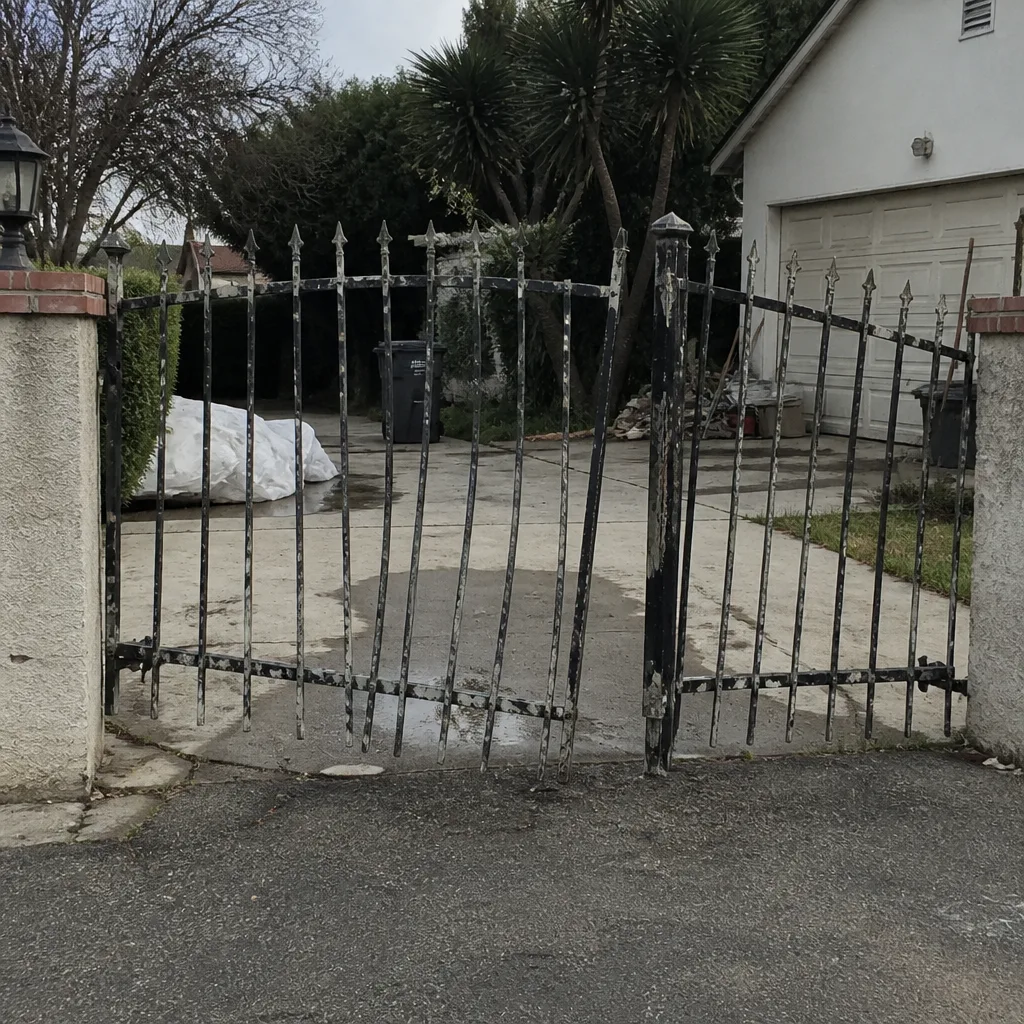 Before
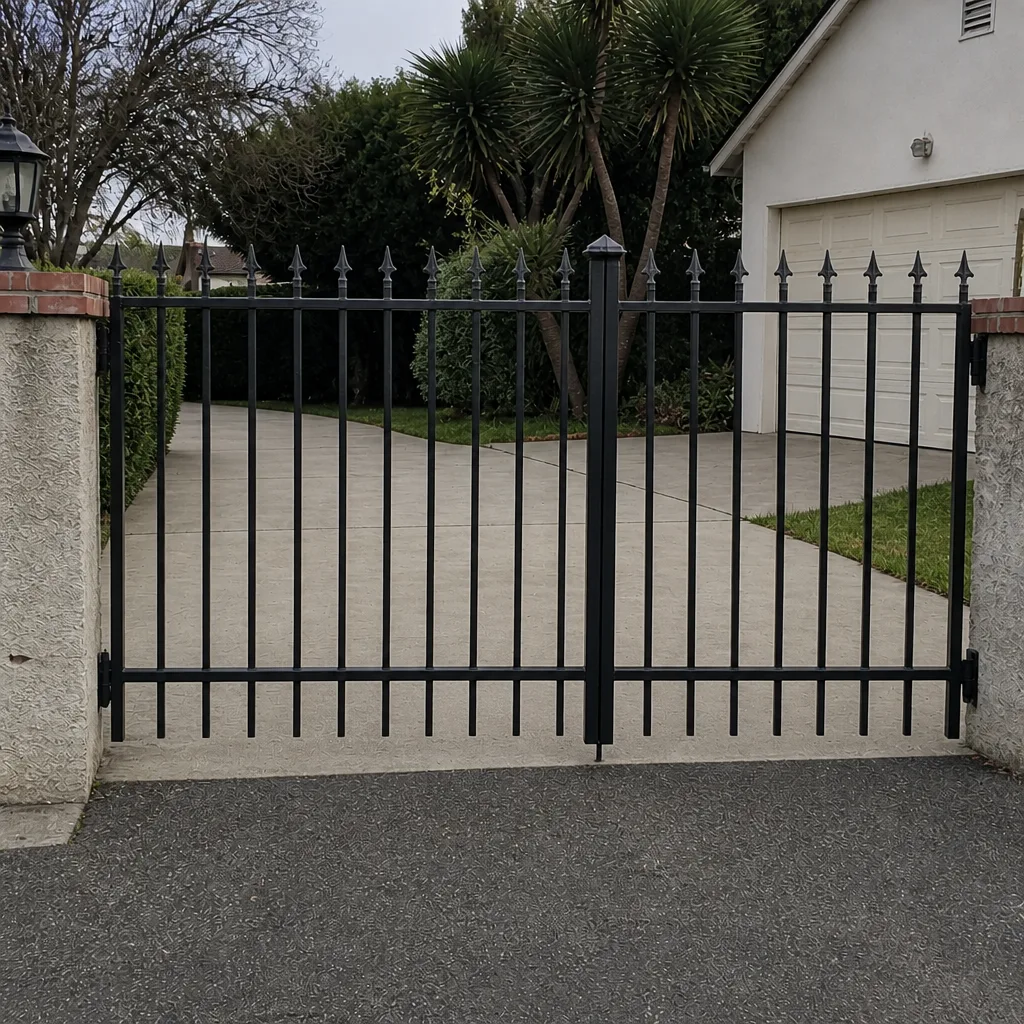 After
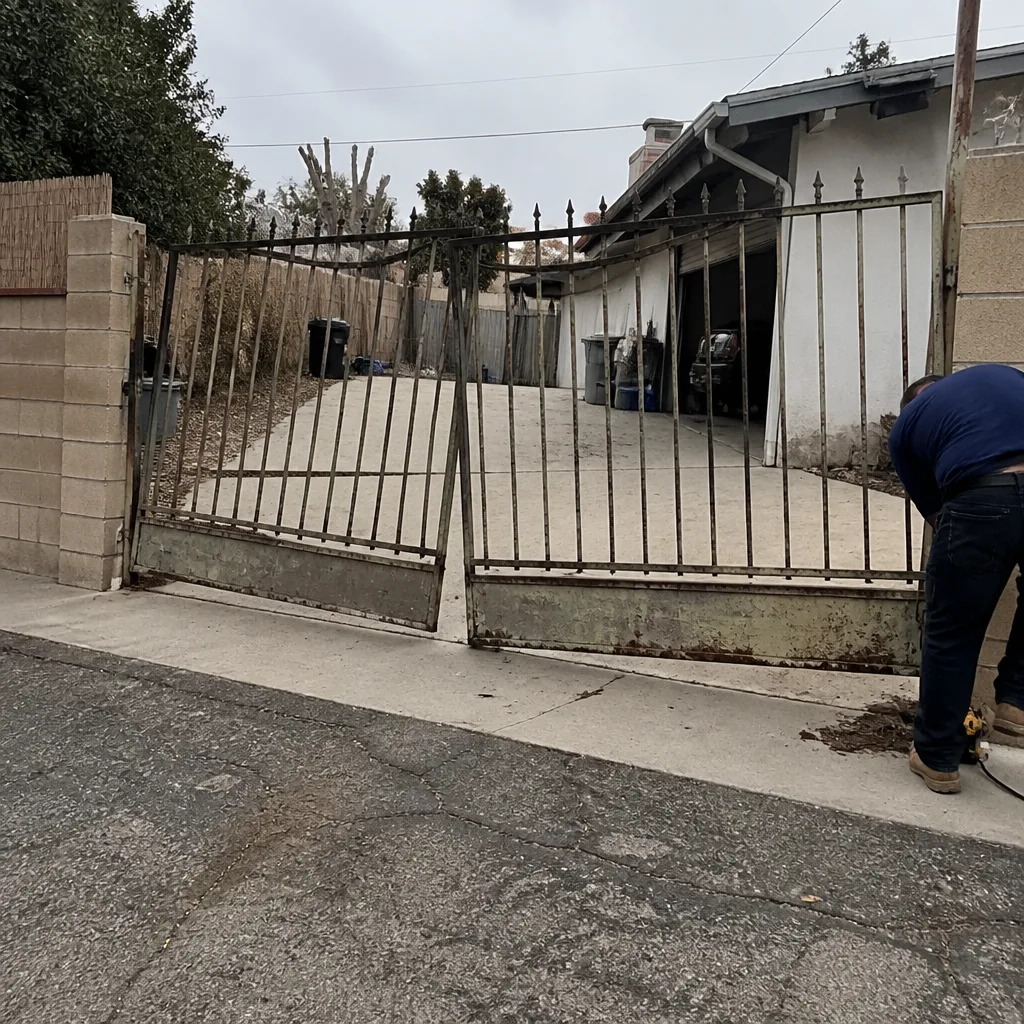 Before
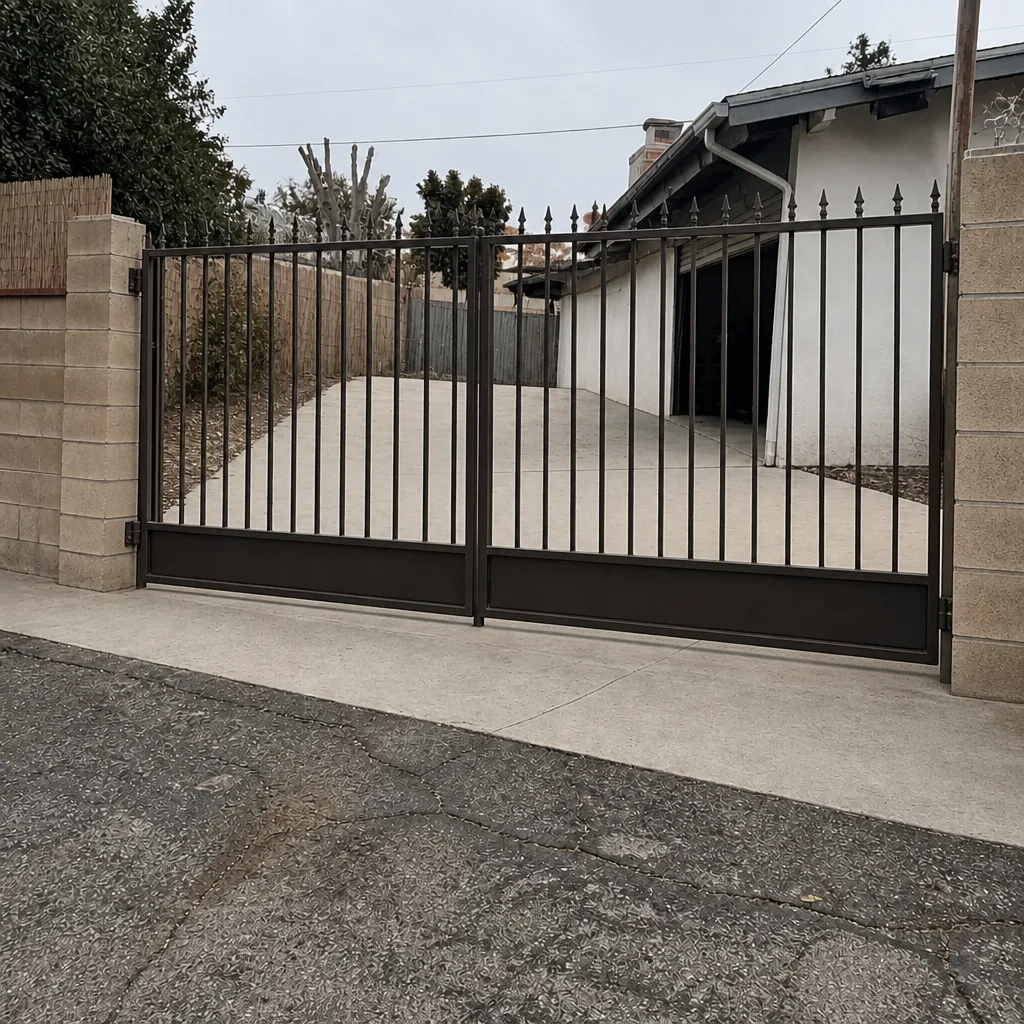 After