
Last updated November 16, 2026
 Wrought iron
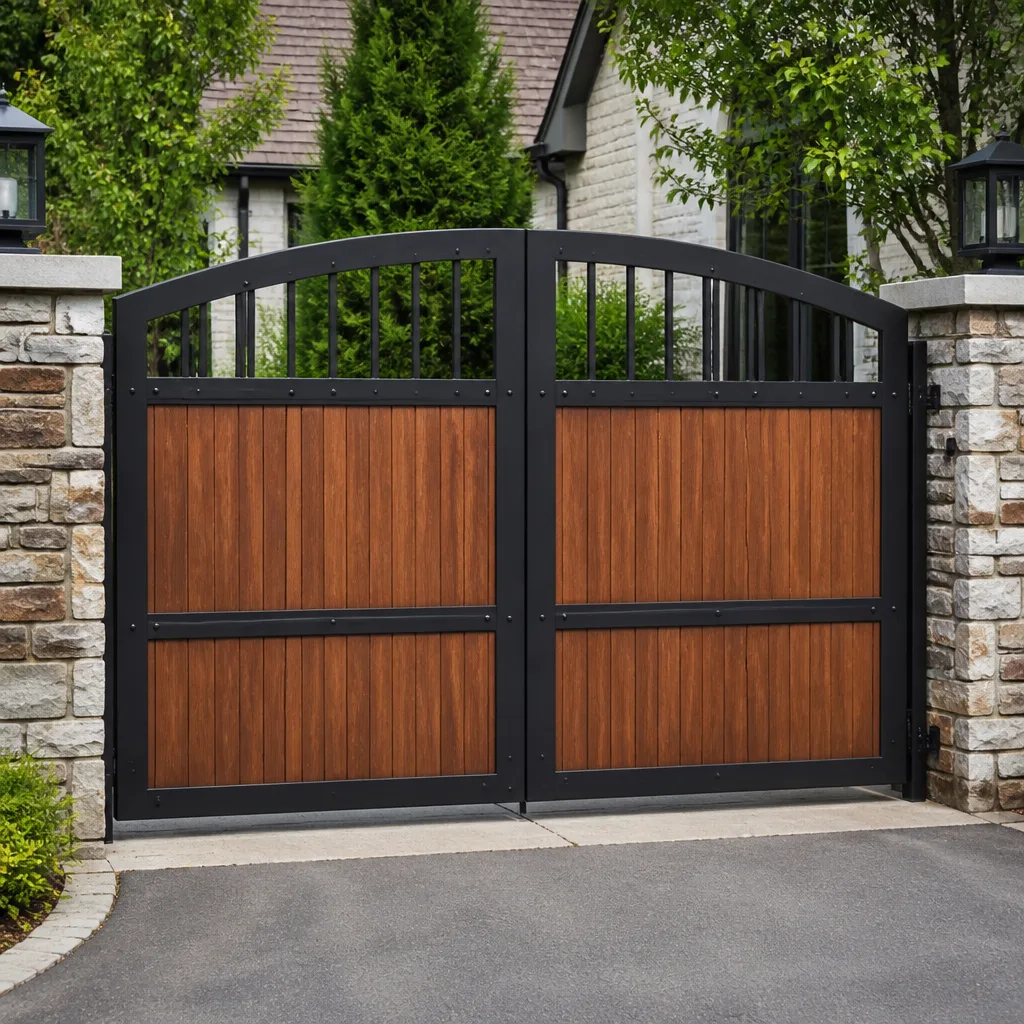 Wood & steel frame
 Farm & ranch
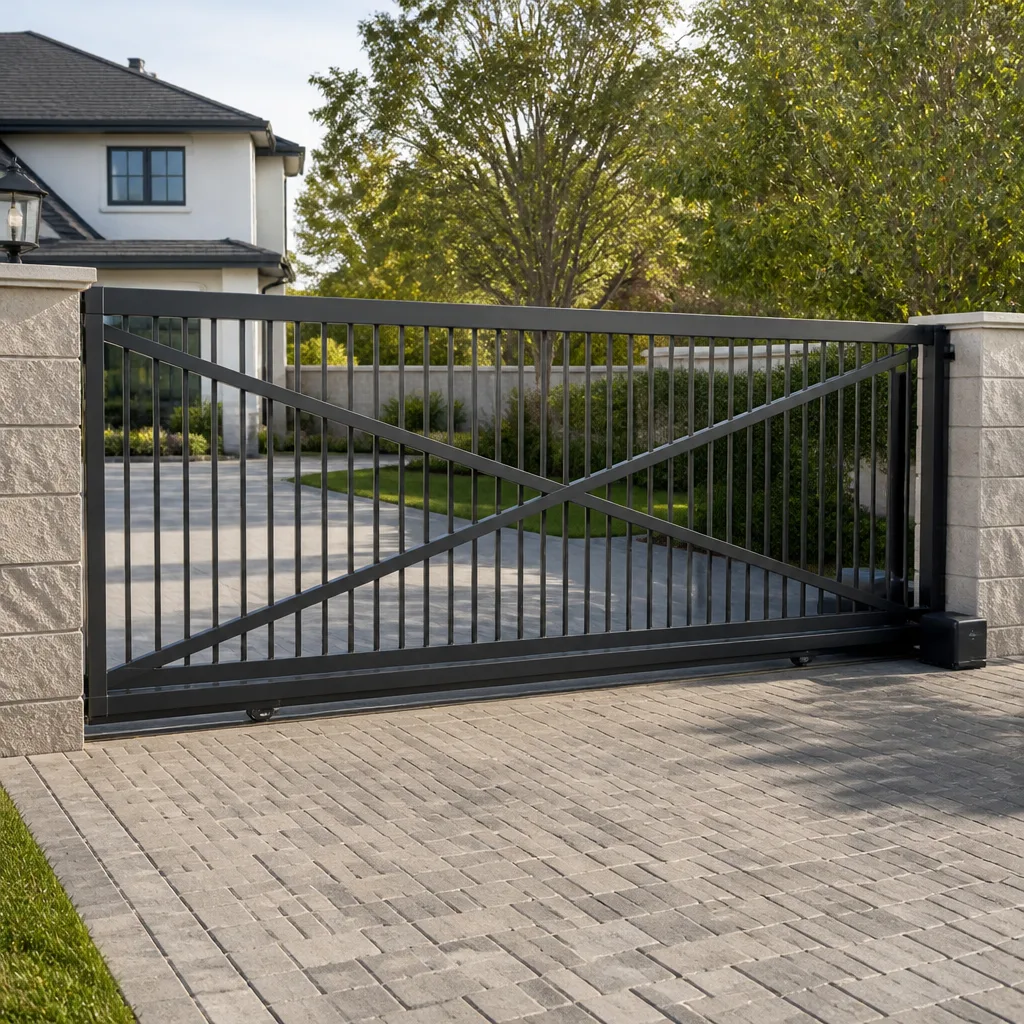 Sliding driveway gates
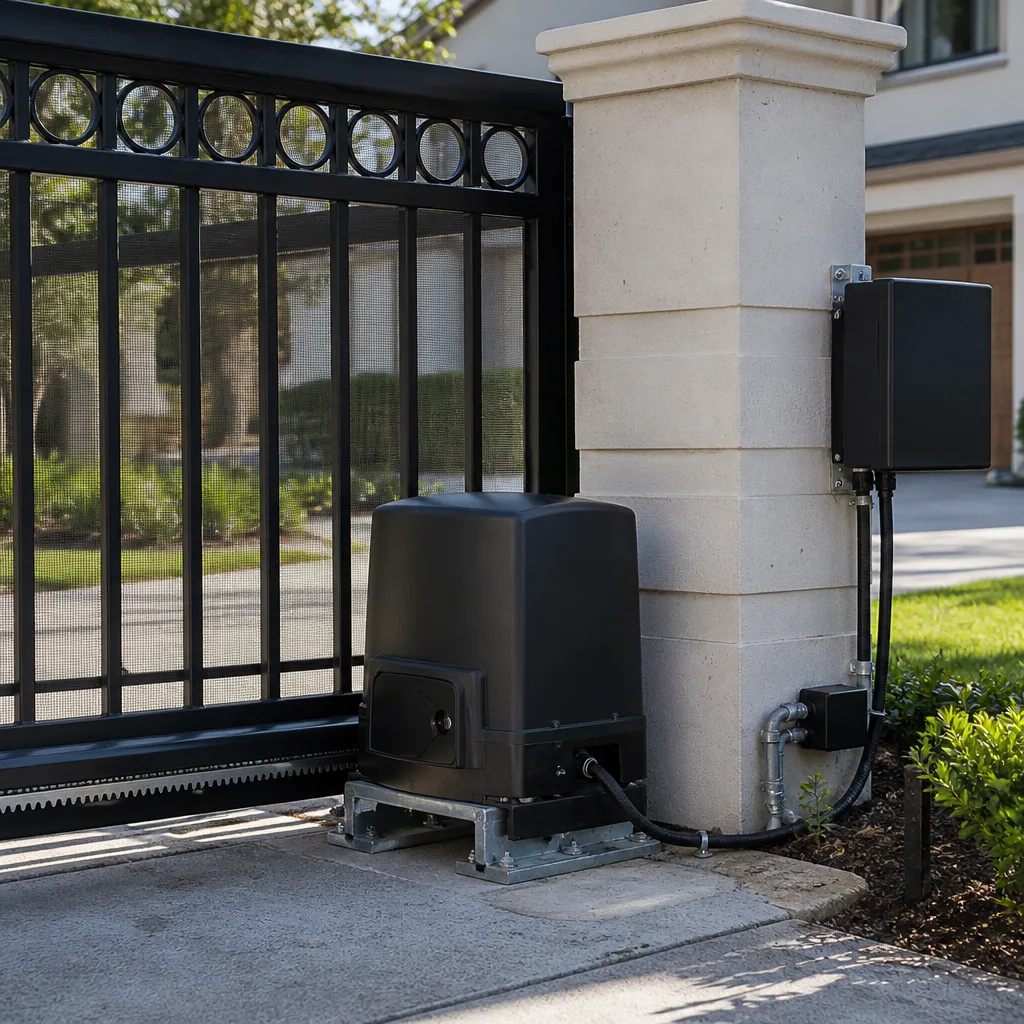 LiftMaster operators
Free on-site gate assessment - hinges, posts, and your LiftMaster or Nice gate operator checked before anything is quoted
The assessment is free and the quote is the invoice.
Get your free estimateGate Repair Troubleshooting in Glendale: Common Problems and How to Fix Them
If a technician opens a laptop before touching the gate itself, they’re already working backwards. The control board gets blamed for a huge share of gate failures that are actually mechanical drag: worn rollers, a track packed with grit, a hinge that has quietly seized over a dry summer. Electronics amplify a problem the gate already had. They rarely cause one from a clean start. This guide teaches you to read the gate first and the electronics second, so you can tell a real component failure from a mechanical bind before anyone charges you for a board. You’ll learn a hands-on push test, Glendale’s specific wear patterns, how to read fault codes honestly, and the point where a trained professional should take over.
Quick Answer
Most gate problems in Glendale trace back to mechanical wear, not electronics. A sliding gate that stalls, reverses, or trips its operator usually has drag from worn rollers, a misaligned track, or grit compacted by dry heat and dust. Start by disconnecting the operator and push-testing the gate by hand. If it rolls or swings hard, fix the mechanics before you touch a single wire or control board.
Styles & brands we work with
- Wrought iron
- Wood & steel frame
- Farm & ranch
- Sliding driveway gates
- LiftMaster operators
Table of Contents
- The Mechanical-First Diagnostic Sequence
- How to Run a Push Test on Your Gate
- Glendale Wear Patterns: Dry Heat, Dust, and UV
- Reading Operator Fault Codes Without Blaming the Board
- The Three-Point Hinge Inspection for Swing Gates
- What You Can Safely Reset or Lubricate Yourself
- Why Brand Matters When You Call for Repair
- What Actually Slows Gate Wear Down
The Mechanical-First Diagnostic Sequence
Almost every gate problem looks electrical from the outside. The gate stops halfway, the operator grinds, a remote won’t trigger it. But the operator is only doing what the gate physically allows. When a heavy sliding gate develops drag, the motor pulls harder to overcome it. That extra current trips the safety circuit, and suddenly the symptom looks like a control board failure. Our technicians, some with up to 13 years of experience, see this pattern repeatedly across Glendale properties.
Here’s the sequence we use, and the order you should try it in:
- Observe the gate in motion. Watch for a wobble, a hitch, a slowing point, or the gate lifting off its track as it travels.
- Cut the operator out of the equation. Put the operator in manual release (most have a manual release key or lever) so the gate moves freely by hand.
- Push-test by hand. Roll or swing the gate through its full travel and note where it resists.
- Inspect the running gear. Rollers, tracks, hinges, and guide posts. Look for flat spots, cracks, and grit.
- Only then check the electronics. Wiring, control board, loop detectors, safety edges, remotes.
The reason order matters is simple. Replacing a control board on a gate with mechanical drag fixes nothing, and the new board fails the same way. Read the gate first. If you’re not sure which layer you’re dealing with, our gate repair team starts every visit with the physical gate before opening a control panel.
How to Run a Push Test on Your Gate
A push test is how you quantify drag with nothing but your hands. It takes about two minutes and tells you whether your problem is mechanical or electrical before you spend a dollar. Do it with the operator disengaged and power to the motor off, never with a motor trying to move the gate.
For a sliding gate, disengage the operator and roll the gate slowly by hand from fully closed to fully open. A healthy gate moves with steady, light resistance. What you’re sizing up:
- Smooth the whole way: the mechanics are clean. Your problem is electronics.
- Heavy and consistent: the rollers are worn or the track is out of level.
- Stiff at one spot: a damaged roller, a kink in the track, or debris caught at that point.
- Grinding or clicking: a worn bearing in a roller or a bad track weld.
- Wandering or lifting: the gate is out of square or a guide post has shifted.
For a swing gate, release the operator and swing the leaf open and closed by hand. It should move through its arc with light, even effort and settle without sagging. Note any binding through the middle of the swing and any sag at the latch. When a swing gate pushes hard, it’s often the hinge, not the operator, and not the control board. Brand-new operators burn out on old, dragging gates, which is why we check the mechanics on every brand before touching the motor.
Glendale Wear Patterns: Dry Heat, Dust, and UV
Glendale’s climate puts specific wear on gate hardware that you won’t see in cooler, wetter places. Long stretches of dry heat, dust blown in off the hills and streets, and strong sun all work on the same components year after year. Knowing these patterns helps you spot a Glendale problem fast instead of guessing.
What the heat and dust actually do:
- UV-cracked rollers. Sun breaks down the rubber and plastic in rollers, hinges, and gaskets. When a roller’s surface starts to craze or crack, it flattens and drags instead of rolling. It looks like a dead operator. It isn’t.
- Grit-packed tracks. Dust and fine grit settle into the track channel and mix with lubricant to form a paste. Over time the transport channel fills and the gate fights its own track.
- Dried-out hinges. Dry heat pulls lubrication out of hinge pins. A hinge a homeowner takes for fine can be nearly frozen in the dry season.
- Sun-baked control boards and enclosures. When the enclosure bakes all day, seals and wiring connections can loosen or corrode. This is a real electrical issue, just less common than the mechanical ones.
To tell genuine component failure from wear, look at where the resistance lives. UV cracks and grit live at the contact points: the roller face, the track, the hinge. A control-board failure shows up as erratic behavior with a free-moving gate. If the gate rolls smooth but the operator still faults, you’re dealing with the electronics. If the gate grinds and drags, you’re dealing with the mechanics, whatever the fault code says. Hanging a Glendale Gate Repair call on a UV-cracked roller is exactly the kind of misdiagnosis this guide is meant to prevent.
Reading Operator Fault Codes Without Blaming the Board
Fault codes are clues, not verdicts. A code that says “obstruction” or “reversal” or “overload” is the operator telling you it hit resistance somewhere. That resistance may be a real obstruction, mechanical drag, a misaligned safety edge, or a failing sensor. Reading the code correctly means reading the gate around it.
Here’s the approach we use with top-tier operators, including FAAC and BFT systems, and it applies to the brands you’ll find on Glendale residential gates:
- Write down the exact code. Note how many times it blinks if the operator uses a blinking pattern.
- Get the manual for the brand and model. The same code means different things across brands. Never guess from memory.
- Test the gate mechanically first. Push-test before assuming the board is bad.
- Check the sensors and safety edges. A blocked or misaligned sensor produces “obstruction” whether the gate is fine or not.
- Then inspect the board. Look for corrosion, loose connections, or scorch marks.
The most common misdiagnosis we correct is a board replacement on a gate whose real problem is drag. The operator sees overload. The homeowner reads “board.” The gate needs new rollers or a cleaned track. Once you’ve ruled out drag and sensors, a code that persists is a genuine electrical fault, and that’s when you need a specialist. For diagnostic work on automated systems, our electric gate repair team handles the brand you already have, including panels, loop detectors, and access control, rather than a generic handyman reading the manual alongside you.
The Three-Point Hinge Inspection for Swing Gates
A sagging swing gate is either a hinge problem or a post problem, and the difference matters because they get fixed in completely different ways. A property manager who replaces hinges when the post is the problem wastes the repair. A three-point inspection tells you which one you have.
Do this with the operator disengaged and the gate resting naturally:
- Check the top hinge. Grab the gate near the top hinge and lift. Any vertical play in the hinge pin means the hinge is worn. A little movement is normal; loose rattle or a pin sitting crooked is not.
- Check the bottom hinge and the gap. Look for metal-on-metal contact, a hinge pin starting to wallow out its bracket, or the gate dropping at the latch corner. A hinge that’s visibly shifted from its original seat is a hinge issue.
- Check the post itself. Sight the post against a plumb reference. If the gate “sags” but the hinges are tight and the post leans, the post has shifted.
In Glendale, post shift on hillside properties adds a wrinkle. Ground that drains poorly or has been disturbed can let a gate post settle slowly over seasons, and the hinge follows along. When the post has moved, tightening hinges makes things worse. When the hinges are worn but the post is still plumb and set right, a hinge rebuild fixes the sag. That’s a decision worth a trained eye because the wrong fix looks fine for a few weeks and then fails. Swing gates on the residential and commercial tier both show this, whether the operator is a Viking or a Linear unit.
What You Can Safely Reset or Lubricate Yourself
A lot of “gate problems” are maintenance, and a careful property manager can handle the low-risk work. The line to respect is real: live wiring, control boards, and heavy gate panels are not DIY territory. Here’s the split we recommend.
You can safely do this yourself:
- Clear grit and debris from a track channel with a broom and a vacuum.
- Wipe the track clean and apply a suitable lubricant lightly.
- Lubricate hinge pins with a gate-appropriate lubricant, not a heavy grease that attracts dust.
- Reset a remote or re-sync it following the manual.
- Clear an actual obstruction the gate has hit.
- Wipe dust and grit off rollers and hinges after a heavy dirt season.
Call a specialist for this:
- Anything inside the operator housing or control panel.
- Motor, wiring, transformer, or solenoid work.
- Loop detector or access control wiring.
- Any fault that persists after a clean track and a full push test.
- Posts, hinges, and heavy gate panels that have shifted or come off track.
Our rule: if a reset or a clean doesn’t fix it, stop and call. Gate operators run high-torque motors and heavy gates carry serious weight. A panel that comes off its track can crush. Doing board work yourself on live power is how people get hurt. Protect the gate, protect yourself, and let the specialist take the dangerous part.
Why Brand Matters When You Call for Repair
Gate operators are not interchangeable, and the brand on your gate changes the whole diagnosis. A technician who works on one or two brands will guess at the others, sometimes with the wrong spring tension, the wrong board, or a workaround that fails later. We work on the brand you already have, and the brand list is deliberately wide because Glendale gates run the full range.
That range runs from residential Mighty Mule and Ghost Controls systems to professional-tier Viking, Linear, LiftMaster, Elite, and commercial systems from FAAC, BFT, and DoorKing. Residential operators have simpler boards and fewer adjustment points. Commercial systems have richer diagnostic interfaces but more failure points, from loop detectors to access panels. Knowing which category your gate falls in tells you what to expect from the repair and who should be doing it.
When you call for repair, tell the dispatcher the brand and model on the operator housing. It sounds small, but it means the technician arrives knowing the diagnostic path and testing steps for that exact system, so the repair goes “from diagnostic to done” instead of turning into a second visit while the right part is ordered. If your current gate is beyond saving or you want to upgrade to automation, we also handle new installation, so you don’t need a separate vendor. Our Glendale service covers both repair and install on the same equipment.
What Actually Slows Gate Wear Down
There’s no maintenance plan here, just sensible habits that add life to any gate. The single biggest factor is keeping grit out of the running gear, which in Glendale’s dry, dusty climate means a regular clean rather than a yearly gesture. A quick clean after the dirtiest times of year prevents the grit-paste that fills tracks.
The habits that make a real difference:
- Clean the track before it looks bad. Grit you can see is already moving through the rollers.
- Lubricate hinges and pins with the right product. Heavy grease traps dust and works against you.
- Push-test your gate every so often. A hand test in two minutes catches drag before the operator does.
- Watch the sun-facing side. Rollers and gaskets on the exposed side age first in Glendale’s long sunny season.
- Keep the operator enclosure clean and sealed. Dust and heat are the pool’s worn panel.
- Fix small drag early. One worn roller is a tune-up. Five is a dangerous, expensive mess.
None of this replaces a proper inspection, but it cuts the number of calls you make and keeps the gate working the way it should. Maintenance is a one-time visit priced per job after we look at the gate, with no plan to sign up for.
Common Mistakes to Avoid
- Replacing a control board before push-testing the gate. It’s the most common wrong repair we see, and it wastes money on a part that was never broken.
- Blaming the operator for a dragging gate. A worn roller or a fouled track starves the operator of the push it needs, and the motor fails trying to make up the difference.
- Greasing a dusty track. Glendale grit plus heavy grease makes a paste that chokes the rollers; a light, clean application is the right call.
- Using the wrong lubricant on hinges. Heavy grease on hinge pins locks up in the dry season and turns one hinge into a bind.
- Tightening a sagging gate’s hinges when the post has shifted. If the post is out of plumb, tightening wears the hinge faster and the sag comes back.
- Ignoring the sensor edge. A dirty or misaligned safety edge produces the same “obstruction” fault as a real blockage, and the gate stops for no reason.
- Reaching into the operator housing for a DIY fix. Live power and heavy gate panels make this the one job that should never be self-performed.
See the difference
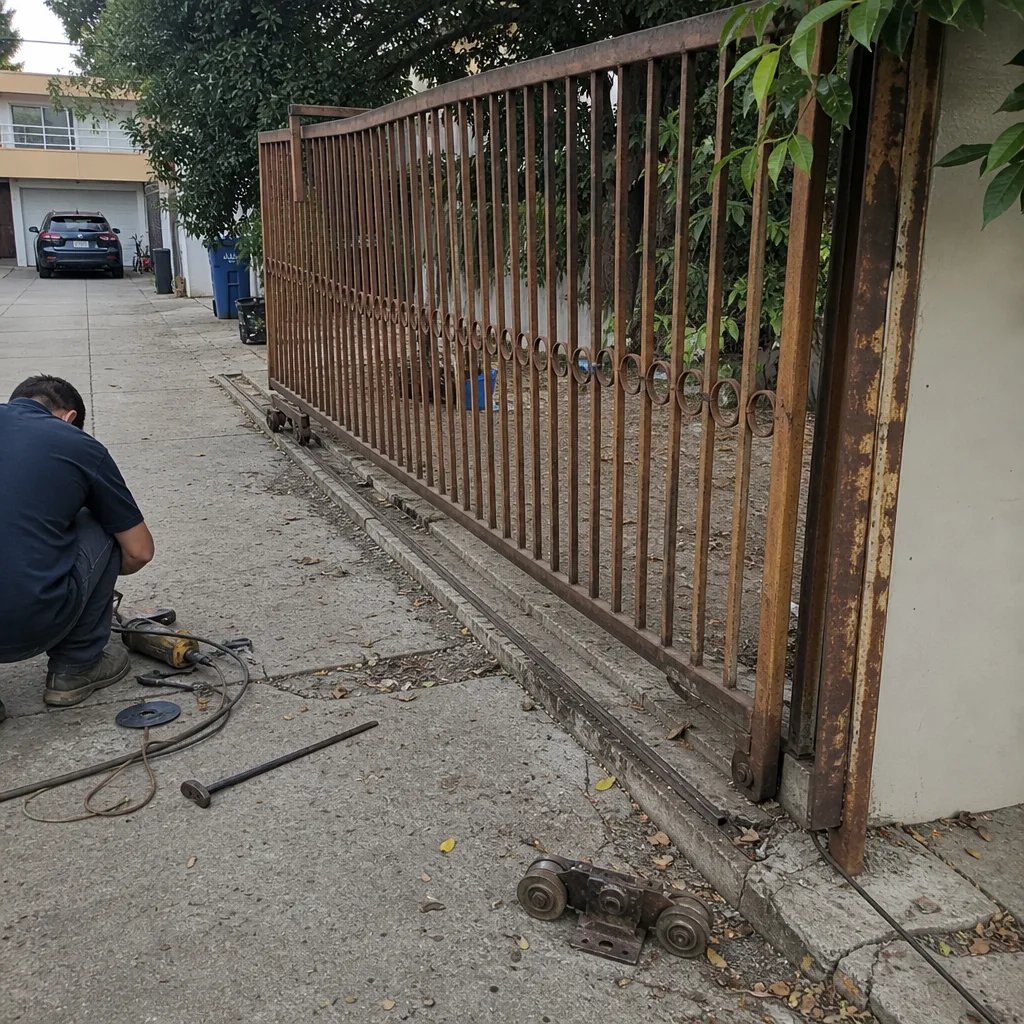 Before
 After
 Before
 After
 Before
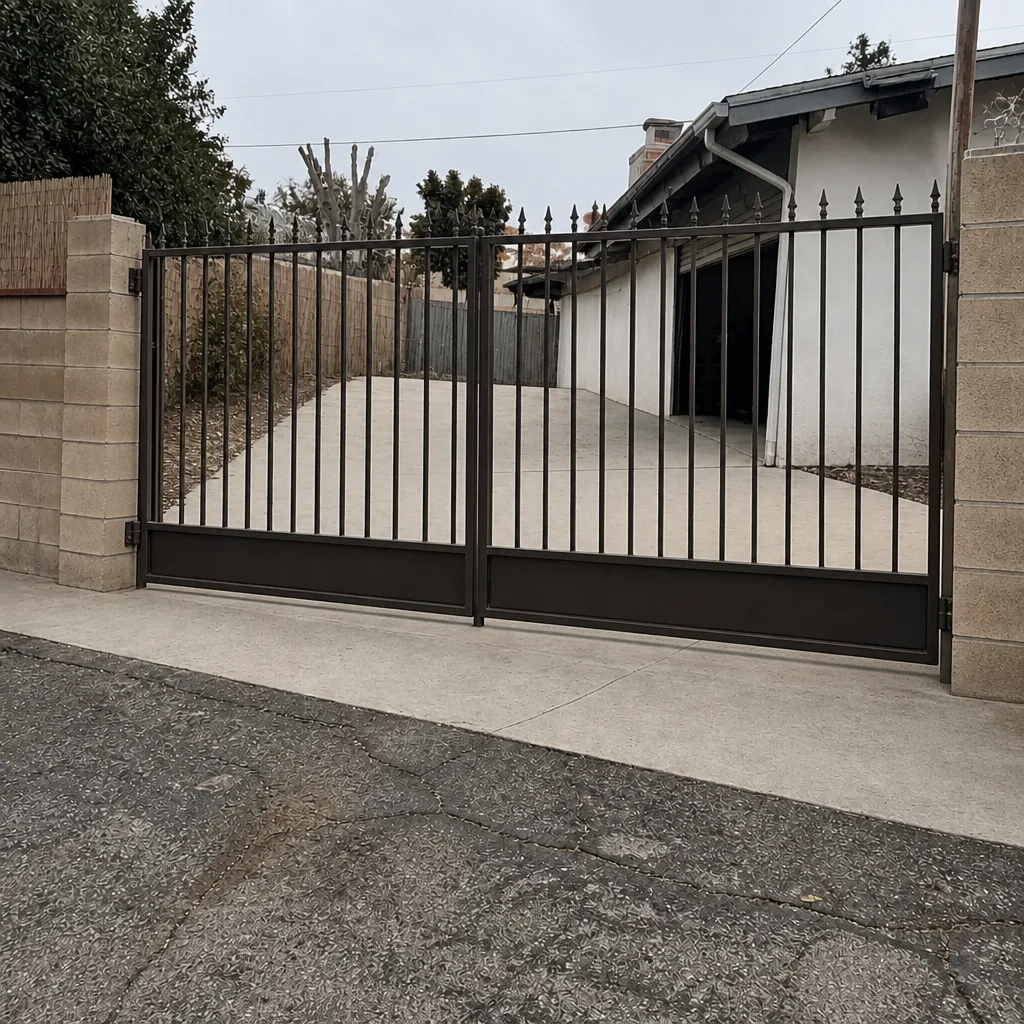 After
When to Call a Professional
Call a professional when a faulty gate fault survives a clean track and a full push test. Call when the gate lifts off its track, when a swing gate sags at the latch point, when an operator stays in fault after a reset, when the safety edge or loop detector is dead, or when a remote stops working after a re-sync. If the problem is mechanical, hinges are loose, or the gate drags, don’t wait for the operator to fail on top of it. Each of these is a scenario we handle regularly, and our technicians work on the brand you already have rather than improvising. Glendale Gate Repair offers free estimates in Glendale. Call (888) 853-9043. We answer 24/7, with fast dispatch from 7am to 7pm, Sunday through Friday.
Frequently Asked Questions
Your gate is most likely hitting drag, and the operator’s safety circuit is doing its job by stopping it. A worn roller, a grit-packed track, or a misaligned safety edge are the usual causes. Push-test the gate by hand with the operator disengaged, and if it resists, fix the mechanics before touching the electronics. Call (888) 853-9043 for a free estimate if the push test shows heavy drag.
Mechanical, by a wide margin. Worn rollers, dirty tracks, and dried-out hinges account for most gate “electrical” failures, and the board usually gets blamed for a mechanical drag it never caused. Start with a push test every time. Call us if you’re not sure which layer your gate problem lives in.
You can reset the operator with a power cycle if the manual calls for it, but anything inside the control panel is off-limits for DIY. Live wiring and heavy gates make board work dangerous. If a reset doesn’t clear the fault, it’s a specialist job. Call (888) 853-9043 for an honest diagnosis.
The gate post has probably shifted, which is common on hillside properties in the Glendale area. A three-point hinge inspection tells you whether the sag is in the hinge pin or in the post. Tightening hinges on a shifted post makes it worse. We’ll tell you honestly which fix your gate actually needs.
Dry heat, dust, and strong sun break down rollers and gaskets faster than a mild climate does. UV cracks the roller surface, grit packs the track, and hinge lubrication dries out. Regular track cleaning and proper lubrication matter more here than in cooler places. A quick one-time inspection will tell you what needs attention.
A free-rolling gate with an overload code points to an electrical issue, most often a sensor, a safety edge, a wiring connection, or the board itself. Don’t replace the board on a guess. Get the brand and model in hand and call (888) 853-9043 for a diagnostic. Estimates are free.
The Bottom Line
Read the gate before the electronics. A push test by hand, a look at rollers and track and hinges, and a clean of the running gear catch most gate problems in Glendale before a technician ever touches a control panel. Dry heat and dust make mechanical wear the leading cause, so be suspicious of any diagnosis that starts at the motor. Handle the safe maintenance yourself: clean the track, lubricate the hinges, re-sync the remote. Hand off the wiring, the operator housing, the shift posts, and anything heavy that could hurt you. Know your brand, know its diagnostic path, and get a specialist when a fault survives a reset. If you need the diagnosis done right, one free estimate is all it takes to know.
Call Glendale Gate Repair at (888) 853-9043 for a free estimate. We answer 24/7, with fast dispatch from 7am to 7pm, Sunday through Friday.
Written by the team at Glendale Gate Repair.